Sections
Everything that’s interesting happens within Sections of your BoardNotebook.
Sections contain pages, and pages are where Admins put content for Members. Common Sections you can create might be:
- Board Meetings - you might wish to create a Section called “Board Meetings” where you put all the Meeting Pages within the BoardNotebook.
- Mission - you might wish to put information useful to a Member by filling up a section called “Mission” with background information about what your organization does.
- Governance - add a “Governance” section to have a place to add information associated with your ISR-990 flings.
- Policies - having a section with pages containing all the information about your board’s formal policies can be very useful.
- Galas and Events - having a section containing information about your fundraising events and other activities.
Go to the Main Page
You can always get to the main page of your BoardNotebook by clicking the “Your Boards” menu item at the top of any page and clicking on the orange link that takes you to any one of your board’s main pages. (You’ll have multiple boards listed if you are a member of more than one board.)
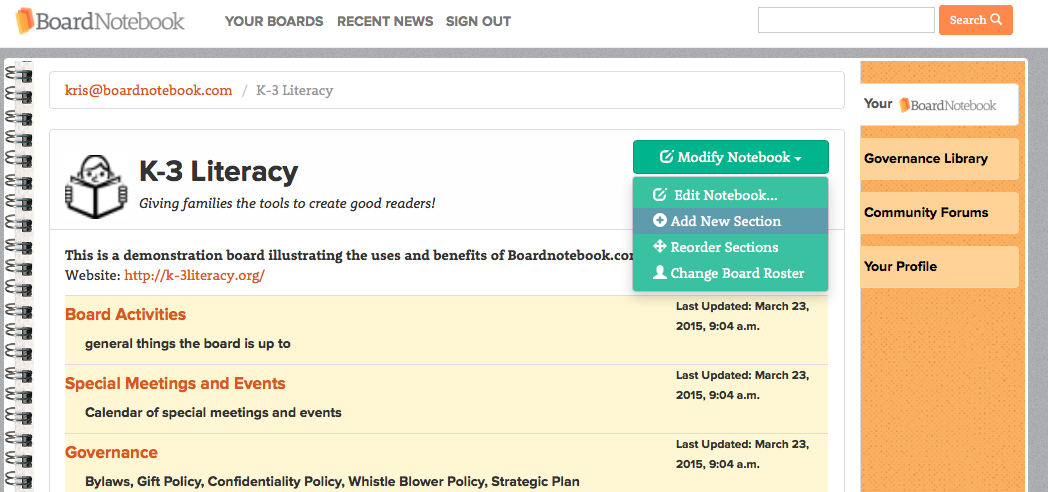
Adding a new Section
On the main BoardNotebook page, each of these sections can be created by clicking the green “Modify Notebook” button and choosing “Add New Section”. It then allow you to name the new Section and description with a short phrase. Do this as many times as you’d like.
If you’re not an Admin the green button is missing, and you are unable to change the BoardNotebook.
Reordering the Sections
On the main page, clicking the the green “Modify Notebook” button and choosing “Reorder Sections” takes you to the reordering page. Here you can drag the various sections around until you get the order you’d like.
Click the blue “Done Rearranging Tabs..” button to return to the main page.